Part 2 of How to Work with Tools and Materials
In this video we explain how to smooth out the wood to have a good texture. Here is the video for you to view:https://www.youtube.com/watch?v=60lE0TJXIHM
During this video, my friend and I were using tools to smooth out the surface of the wood.
During this video, my friend and I were using tools to smooth out the surface of the wood.
Tools used in Video
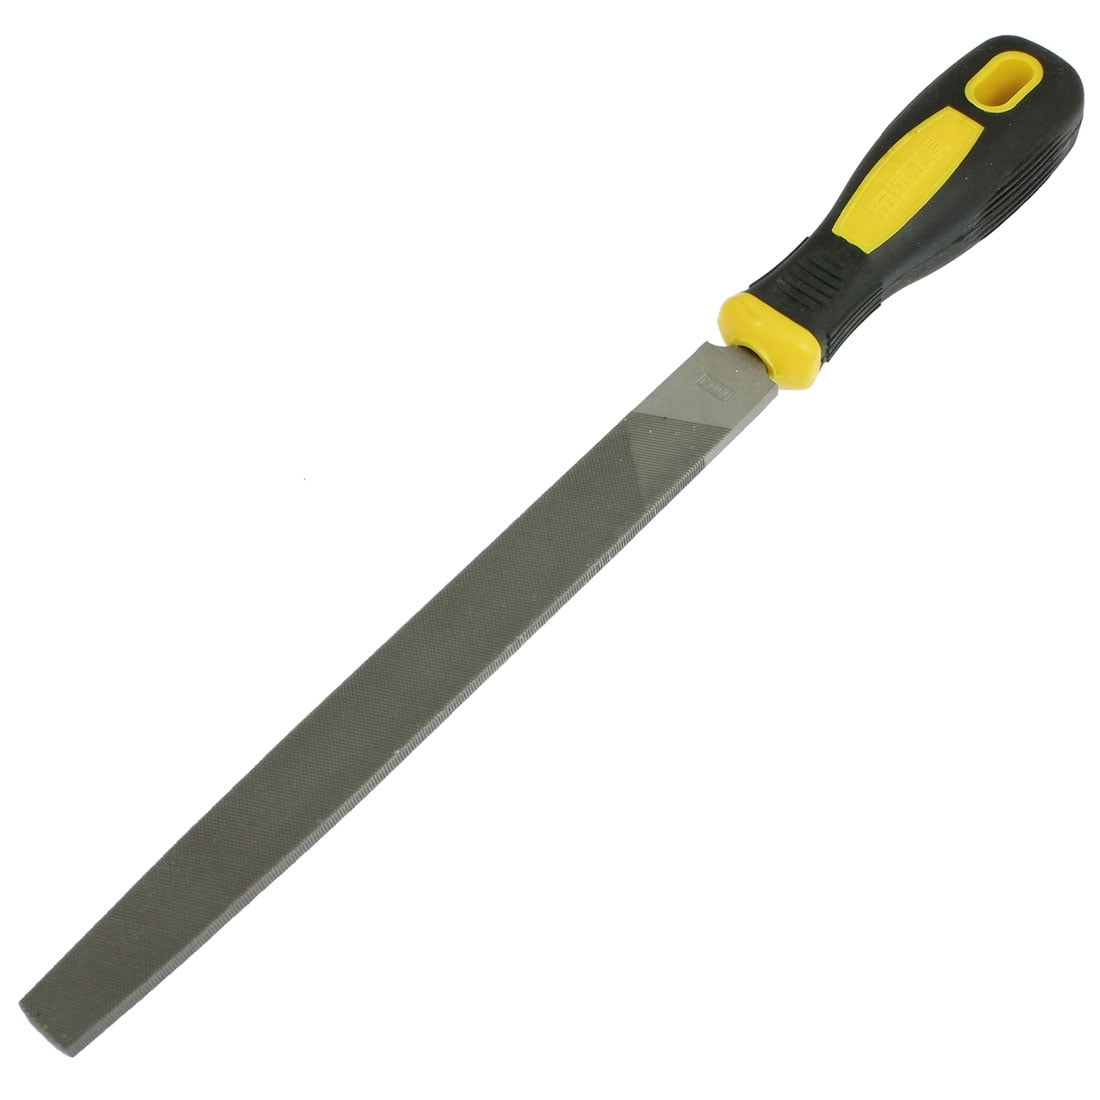
Sources: https://www.walmart.com/ip/Nonslip-Handle-Steel-Middle-Second-Cut-Flat-File-Tool-8/48396312
or
https://i5.walmartimages.com/asr/af3ec92b-0a2f-4f0c-95ee-26c20ad0f337_1.83b23db09ec00ae8c2d56e468a12d8d6.jpeg

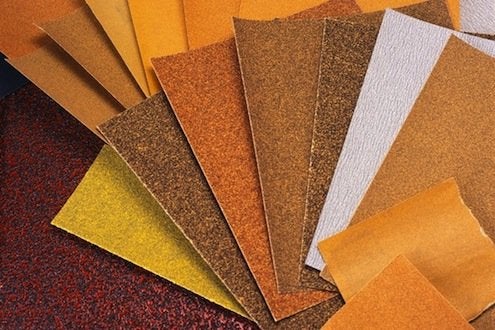
Sources: https://www.bobvila.com/articles/bob-vila-radio-tool-tip-sandpaper/
or
http://s3-production.bobvila.com/blogs/wp-content/uploads/2013/04/sandpaper-grades.jpg
How to Use a File
Sources: https://www.bobvila.com/articles/bob-vila-radio-tool-tip-sandpaper/
or
http://s3-production.bobvila.com/blogs/wp-content/uploads/2013/04/sandpaper-grades.jpg
How to Use a File
In order to use a file you will need to place the ridges in the opposite direction of the uneven wood. Then you will need to apply even pressure on the file against the wood and move in one direction. It will be a tedious task, but the outcome of the wood will be worth every second. You can get your other hand that is not holding anything to grip the other end of the file to get a much better purchase on the file. My friend in the video did not follow these directions. Do not follow what my friend is doing in the video, it is not the correct way.
How to Use Sandpaper
Sandpaper is really similar to a file because they both smooth uneven surfaces. You can use sandpaper by hand or have a sanding block. If you look at sandpaper and there is a number on it. That number can represent the grit on the sandpaper. This means how rough the sandpaper is. It is like a scale, the lower the number the rougher the sandpaper and the higher the number the smoother it is. You use the lower grit sandpaper to start off the uneven wood and later on when you are positive, you use the smoother sandpaper to finish it off. When using sandpaper make sure to have a good grip on it and apply even pressure. Rub the sandpaper against the wood about five times and then blow off the excess wooden shavings. Continue this until the wood is fairly smooth. Also, to make a sanding block, you can just grab a spare rectangular prism piece of wood and wrap the sandpaper around it and it can make an even surface for sanding. In the video, my friend forgot to blow off the excess wood which made sanding the wood harder.
This is the second part of the blog on craftsmanship and how to safely work with tools. Hope you enjoy and be safe!
Comments
Post a Comment